
Polaroid Snap Camera: A Comprehensive Manual Guide

Welcome to the world of instant photography! This guide provides detailed instructions for your Polaroid Snap™ instant print camera‚ ensuring vibrant and memorable photos.
From unboxing to troubleshooting‚ we’ll cover every aspect of operation. Get ready to capture and share life’s moments with ease and a touch of retro charm!
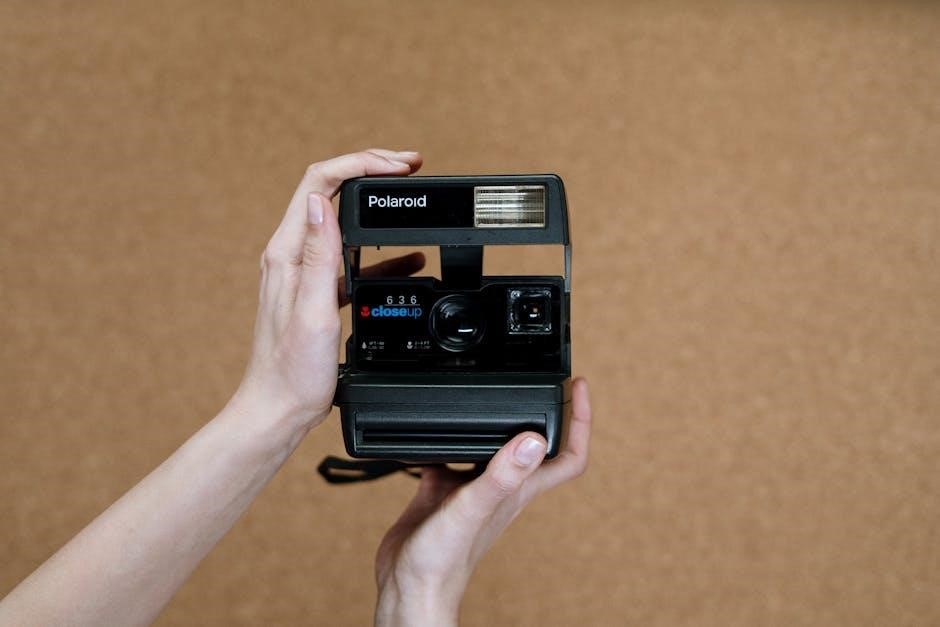
The Polaroid Snap™ offers a unique blend of modern technology and classic Polaroid aesthetics. This manual will help you understand its features‚ load ZINK paper‚ and take stunning‚ shareable photos instantly.
The Polaroid Snap™ is a compact‚ digital camera designed for instant gratification. Unlike traditional Polaroid cameras‚ it doesn’t require ink cartridges; instead‚ it utilizes ZINK (Zero Ink) printing technology. This innovative process embeds color dyes within the special ZINK paper itself‚ eliminating the need for messy inks.
This camera allows you to capture full-color digital photos and instantly print them as stickers. It’s incredibly user-friendly‚ featuring a simple button operation and automatic settings. The Snap is perfect for capturing spontaneous moments‚ creating fun keepsakes‚ and adding a retro flair to your memories.
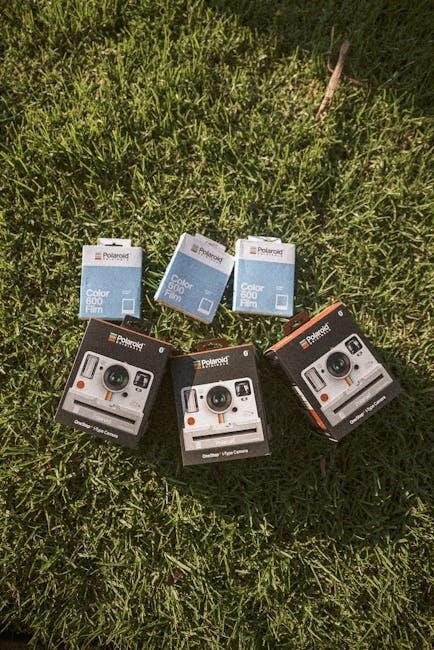
Unboxing and Component Overview
Your Polaroid Snap™ package includes the instant print camera itself‚ a Micro USB cable for charging and data transfer‚ and a starter pack of ZINK paper. Carefully remove all components from the box‚ ensuring you have everything listed. Inspect the camera for any visible damage.
Familiarize yourself with the camera’s key features: the lens‚ shutter button‚ flash‚ and paper tray. A magnetic lens cap is also included for protection. The ZINK paper pack contains the special paper needed for printing‚ including a ZINK Smart Sheet™ which is crucial for calibration.
Camera Features ⏤ Front View
The front of your Polaroid Snap™ features the Lens with Magnetic Cap‚ essential for capturing clear images and protecting the lens from scratches. The Shutter Button initiates the photo-taking process with a simple press.
Positioned alongside the lens is the built-in Flash‚ automatically activating to ensure well-lit photos in various conditions. The print slot is also located on the front‚ where your instantly printed photos will emerge. Remember to keep the lens cap securely attached when not in use!
Lens with Magnetic Cap
The Lens with Magnetic Cap is a crucial component of your Polaroid Snap™. This cap isn’t just for protection; it’s designed for convenience! The magnetic attachment ensures easy removal and reattachment‚ preventing accidental loss.
Always use the cap when the camera isn’t actively taking photos to keep the lens clean and free from scratches. A clean lens guarantees sharp‚ high-quality instant prints. Don’t forget this simple step for optimal performance!
Shutter Button

The Shutter Button is your gateway to capturing memories! Simply press and release this button to take a photograph. The Polaroid Snap™ automatically handles focusing and flash activation with each press‚ simplifying the shooting process;
No need to worry about manual settings – just point‚ shoot‚ and instantly print! The camera’s intelligent system ensures every photo is optimized for vibrant color and clarity. It’s that easy to create and share instant keepsakes.
Flash
The built-in Flash automatically activates with every photo taken‚ ensuring optimal brightness and clarity‚ even in low-light conditions. You don’t have to manually enable or disable it; the Polaroid Snap™ intelligently manages flash intensity for the best possible results;
This automatic functionality simplifies your photography experience‚ allowing you to focus on capturing the moment. The flash contributes to vibrant‚ well-lit instant prints‚ ready to share and cherish immediately after capture.
Camera Features ⎼ Top View
The top of your Polaroid Snap™ houses essential controls for operation. The Pop-Up Viewfinder/Power Switch simultaneously activates the camera and extends the viewfinder for framing your shots. A gentle press is all it takes! Adjacent to this is the Self-Timer‚ enabling delayed capture for group photos or self-portraits.
Finally‚ the Polaroid Border Selector allows you to customize your prints with classic Polaroid-style borders‚ adding a nostalgic touch to your instant memories. These features combine for intuitive and creative control.
Pop-Up Viewfinder/Power Switch
Activating your Polaroid Snap™ is remarkably simple. Your On/Off switch is ingeniously integrated with the viewfinder itself. Gently press the power icon located on the viewfinder to initiate camera operation. As you press‚ the viewfinder will automatically pop up‚ signaling that the camera is powered on and ready to capture moments.
To power down‚ apply slight pressure to push the viewfinder back into its closed position. This streamlined design offers convenient‚ one-step power control;
Self-Timer
Capture yourself in the moment with the convenient self-timer feature! Simply press the self-timer button located on the top of your Polaroid Snap™ camera. This activates a short delay‚ giving you time to join the frame. The camera will automatically snap a photo after a brief countdown‚ perfect for group shots or solo portraits.
Ensure you’re positioned and ready before the timer elapses. The self-timer enhances your photographic possibilities‚ allowing for creative and inclusive snapshots.
Polaroid Border Selector
Personalize your instant prints with the Polaroid Border Selector! This feature allows you to choose between a classic Polaroid border or a borderless print‚ adding a unique touch to your photos. Easily toggle between options to match your style and the subject of your image.
Experiment with both border styles to discover your preference. The border selector enhances the creative control‚ making each print uniquely yours!
Camera Features ⏤ Back View
The back of your Polaroid Snap™ houses essential status indicators. The Battery Status LED illuminates to show remaining power. A Paper Status LED glows red when the ZINK paper is low‚ signaling a refill is needed. The MicroSD Card Status LED indicates card activity during photo storage.
Additionally‚ you’ll find the Paper Door Latch‚ used to access and replace the ZINK paper pack. These indicators provide quick‚ at-a-glance information about your camera’s operational status.
Battery Status LED
The Battery Status LED on the rear of the Polaroid Snap™ provides a visual indication of the remaining battery life. While specific color codes aren’t detailed‚ observing the LED’s behavior is crucial. A consistently lit LED suggests sufficient power for continued operation.
If the LED blinks or dims significantly during use‚ it signals a low battery condition‚ prompting you to recharge via the Micro USB connector. Maintaining adequate battery charge ensures uninterrupted instant photo enjoyment.

Paper Status LED
The Paper Status LED‚ located on the back of your Polaroid Snap™‚ is your key indicator for ZINK paper levels. When the last sheet of ZINK Paper™ is used‚ this LED will illuminate in red. This clear signal alerts you that it’s time to reload the paper tray for continued instant printing.
Paying attention to this LED prevents interruptions during your photography sessions. A red glow means no more instant prints until a fresh pack of ZINK paper is installed‚ ensuring you never miss a moment!
MicroSD Card Status LED
The MicroSD Card Status LED‚ conveniently positioned on the rear of the Polaroid Snap™‚ provides vital information regarding your memory card’s status. While the provided documentation doesn’t detail specific behaviors‚ this LED generally indicates whether a compatible MicroSD card is properly inserted and recognized by the camera.
Ensure a card is inserted correctly for digital storage of your photos. If the LED doesn’t illuminate‚ double-check the card’s placement and compatibility to avoid losing precious memories.
Camera Features ⏤ Bottom View
Exploring the bottom of your Polaroid Snap™ reveals essential components for connectivity and security. You’ll find the Micro USB Connector‚ used for charging the camera and potentially transferring photos to a computer. Adjacent to this is the MicroSD Card Slot‚ accommodating a MicroSD card for expanded digital storage of your captured images.
Finally‚ a Wrist Strap Anchor is present‚ allowing you to securely attach a wrist strap‚ preventing accidental drops and ensuring a firm grip during use.
Micro USB Connector
The Micro USB Connector‚ located on the bottom of the Polaroid Snap™‚ serves a crucial function: it’s your camera’s charging port. Use a standard Micro USB cable (often used for older Android phones) to connect the camera to a powered USB port on a computer or a USB wall adapter.
While primarily for charging‚ this port may also facilitate transferring digital images stored on a MicroSD card to your computer‚ depending on the camera’s firmware. Ensure a secure connection during charging and data transfer.
MicroSD Card Slot
The MicroSD Card Slot‚ conveniently positioned on the bottom of your Polaroid Snap™‚ expands the camera’s storage capacity. This allows you to save digital copies of your photos beyond the limited internal memory. The camera supports MicroSD cards (not included) for additional storage.

To insert a card‚ gently push it into the slot until it clicks. Ensure the card is properly seated for reliable operation. The camera’s MicroSD Card Status LED will indicate card presence and read/write activity.
Wrist Strap Anchor
The Wrist Strap Anchor‚ located on the bottom of the Polaroid Snap™‚ provides a secure point for attaching the included wrist strap. This feature is crucial for preventing accidental drops and ensuring a firm grip while capturing photos.
Simply thread the wrist strap through the anchor and tighten it for a comfortable and secure fit. Using the wrist strap enhances portability and peace of mind‚ especially during active use or when traveling with your camera.

Powering On and Off
To power on your Polaroid Snap™‚ gently press the power icon located on the Pop-Up Viewfinder. The viewfinder will automatically extend upwards‚ simultaneously activating the camera. This dual-function design streamlines operation for quick photo-taking.
To power off‚ simply apply slight pressure to push the viewfinder back into its closed position. This retracts the viewfinder and instantly deactivates the camera‚ conserving battery life. It’s a simple‚ intuitive process for convenient use.
Taking Your First Photo
Ensure the lens cap is removed to allow light to reach the sensor. Then‚ press and release the shutter button. The camera will automatically handle focusing and flash activation for each shot‚ simplifying the process for instant results.
Voila! You’ve captured your first photo with the Polaroid Snap™. The camera will immediately begin printing the image onto ZINK paper‚ delivering a dry-to-the-touch‚ peel-and-stick photo ready for sharing or display.
Loading ZINK Paper
Begin by sliding the latch on the paper tray and gently opening the door. Next‚ slide the entire pack of ZINK Paper™ into the tray‚ ensuring the ZINK Smart Sheet™ is positioned with the barcode facing downwards. Remember‚ the shiny side of the paper should always face up for optimal printing.
Finally‚ close the paper tray door securely. The ZINK Smart Sheet™ will automatically eject upon taking your first picture‚ followed by the printing of your instant photo.
Preparing the ZINK Paper Pack
Before loading‚ ensure you have a fresh‚ unopened pack of ZINK Paper™. This specialized paper is crucial for the Polaroid Snap’s instant printing functionality. Carefully inspect the packaging for any damage before proceeding. The ZINK Smart Sheet™ is integrated within the pack and is vital for camera calibration.
Do not separate the ZINK Smart Sheet™ from the paper stack. It’s designed to be loaded as a single unit. Proper preparation guarantees optimal print quality and camera performance.
Inserting the Paper Pack
With the paper tray open‚ gently slide the entire ZINK Paper™ pack into the designated slot. Ensure the bar code on the ZINK Smart Sheet™ faces downwards – this is critical for proper recognition. The shiny side of the ZINK paper should always be facing upwards‚ ready for printing.
Avoid forcing the pack; it should slide in smoothly. Proper alignment ensures the camera can accurately read the Smart Sheet and initiate the printing process. A secure fit is essential for consistent results.
Paper Tray Closure
After inserting the ZINK Paper™ pack‚ carefully close the paper tray door. Ensure it clicks securely into place; this action prepares the camera for printing and protects the paper from light exposure. The camera won’t operate correctly if the door isn’t fully latched.
The ZINK Smart Sheet™ will automatically eject upon taking your first picture‚ followed immediately by your printed photo. A properly closed tray is vital for the smooth and reliable operation of the instant printing function;
Refilling Photo Paper ⎼ LED Indicators
The camera utilizes LED indicators on the back panel to signal paper status. When the final ZINK Paper™ sheet is used‚ the LED next to the paper icon will illuminate red. This clearly indicates it’s time to reload. Don’t attempt to print while the red LED is active‚ as this could damage the printer.
A solid red light confirms the camera is awaiting a new paper pack. Once refilled and the tray is closed‚ the LED will return to its normal state‚ ready for continued instant photo creation.
Understanding Paper Do’s
Always ensure the ZINK Paper™ pack is loaded correctly‚ with the barcode facing downwards. The shiny side of the paper must face upwards within the tray. Never attempt to use third-party papers‚ as they are not designed for the Polaroid Snap’s ZINK technology and may cause damage.
Do not write or mark on the ZINK Smart Sheet™ itself. This sheet is crucial for camera calibration. Proper paper handling guarantees optimal print quality and camera performance‚ delivering bright‚ sharp‚ and instantly shareable photos.
Troubleshooting Common Issues
If your camera isn’t powering on‚ ensure the viewfinder is fully extended or retracted – it functions as the power switch. For printing issues‚ verify ZINK paper is loaded correctly with the barcode facing down. A red paper status LED indicates an empty or improperly loaded pack.
If photos are blurry‚ clean the lens with a soft cloth. If the camera freezes‚ try resetting it by briefly removing and reinserting the MicroSD card. Contact support if problems persist.
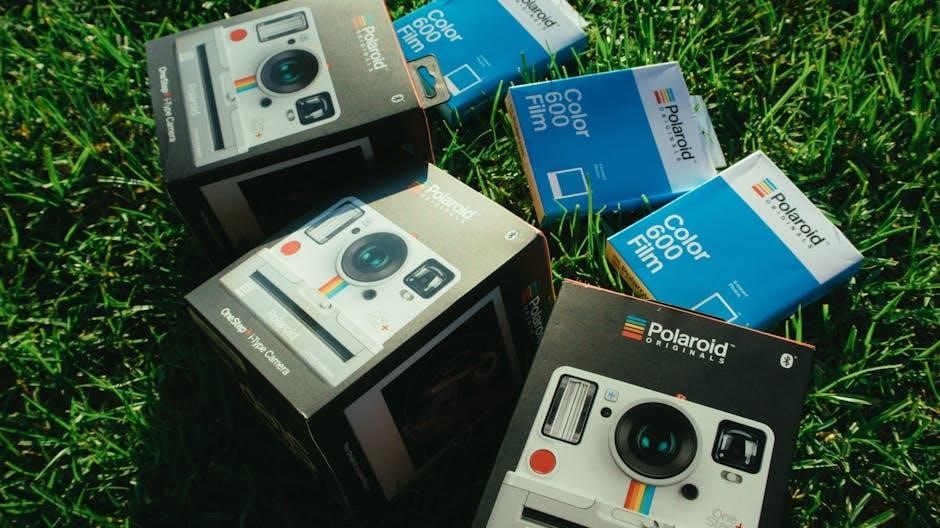
ZINK Paper Recommendations
For optimal print quality‚ Polaroid recommends using Polaroid Premium ZINK Paper™. This specially designed paper ensures bright‚ sharp‚ and durable instant photos that are dry to the touch immediately after printing. The paper’s adhesive backing allows for easy peeling and sticking to various surfaces.
Avoid using non-Polaroid ZINK paper‚ as compatibility and print quality cannot be guaranteed. Using recommended paper will maximize your Polaroid Snap’s performance and deliver consistently excellent results.
Care and Maintenance

To ensure longevity‚ keep your Polaroid Snap™ camera clean and properly stored. Regularly clean the lens with a soft‚ dry cloth to remove dust and fingerprints‚ maintaining optimal image clarity. Avoid harsh chemicals or abrasive cleaners.
When not in use‚ store the camera in a cool‚ dry place‚ away from direct sunlight and extreme temperatures. Protect it from impact and moisture. Proper care will keep your Polaroid Snap™ functioning beautifully for years to come!
Lens Cleaning
Maintaining a clean lens is crucial for sharp‚ clear photos. Use only a soft‚ dry cloth – like a microfiber cleaning cloth – to gently wipe away dust‚ fingerprints‚ or smudges from the lens surface.
Avoid using liquids‚ harsh chemicals‚ or abrasive materials‚ as these can damage the lens coating. A clean lens ensures optimal light transmission and prevents blurry or distorted images‚ preserving the quality of your instant prints.
General Storage
Proper storage extends the life of your Polaroid Snap™ camera. When not in use‚ store the camera in a cool‚ dry place‚ away from direct sunlight and extreme temperatures.
It’s best to keep it in a protective case or bag to prevent dust accumulation and accidental damage. Remove the batteries if storing for an extended period. This simple care ensures your camera remains ready for capturing and printing cherished memories whenever inspiration strikes.