Vintage Singer manuals are invaluable resources, offering insight into operation and maintenance․ Ismacs and ManualsLib host downloadable PDFs, preserving these historical guides․
Why Use an Original Manual?
Original Singer manuals provide authentic instructions, crucial for understanding a machine’s unique features and proper operation․ They detail specific techniques, like darning or buttonholes, often absent in generic guides․
These manuals offer troubleshooting advice tailored to your model, aiding in repairs and maintenance․ They also reveal historical context and intended use, enhancing the sewing experience and preserving the machine’s legacy․
Dating Your Singer Sewing Machine
Dating a Singer relies on the serial number, found on the machine’s body․ While not a precise science, serial numbers correlate to manufacturing dates․ Resources like Ismacs offer databases to estimate the year of production․
Understanding the manufacturing location – indicated by letters like “K” for Scotland – provides additional context, though machines are largely identical regardless of origin․

Identifying Your Singer Model
Locating the model and serial numbers is crucial for finding the correct manual․ These identifiers unlock access to specific instructions and parts lists․
Model Number Location
Determining your Singer’s model number often requires a careful inspection of the machine itself․ Typically, the model number is found on a plate or stamped directly onto the body․ Common locations include the front, right side, or beneath the machine bed․ Look for a series of numbers and letters – this is your key to unlocking the correct manual․ Remember to note this information carefully for future reference when searching for resources․
Serial Number Significance
The serial number is crucial for pinpointing your Singer’s manufacturing date and sometimes, specific variations within a model․ It’s usually located near the model number, often stamped on the same plate․ This number allows enthusiasts to trace the machine’s history and confirm its authenticity․ Online databases can decode these numbers, revealing valuable insights into its production timeline․
Understanding Singer Manufacturing Locations (e․g․, “K” Models)
Singer manufactured machines in various locations globally, indicated by letters like “K” denoting production in Scotland․ However, functionally, “K” models are generally identical to their US-made counterparts, offering the same sewing experience․ The location primarily reflects where the components were assembled, not necessarily impacting performance or features․
Accessing Singer Sewing Machine Manuals
Online resources like ManualsLib and Ismacs provide downloadable Singer manuals in PDF format․ Singer’s official website also offers support and documentation․
Online Resources: ManualsLib
ManualsLib is a comprehensive online database offering a vast collection of vintage Singer sewing machine manuals available for free download․ Users can easily search by model number or keywords to locate specific instructions․ The website provides convenient access to PDF versions of original manuals, aiding in machine identification, operation, and troubleshooting․
It’s a valuable resource for restoring and maintaining these classic machines, offering detailed diagrams and operational guidance․
Online Resources: Ismacs
Ismacs (International Sewing Machine Collectors’ Society) provides a dedicated archive of Singer sewing machine manuals, including those for older 99 versions․ The site hosts downloadable PDFs, offering a wealth of information for enthusiasts and restorers․
Ismacs is particularly useful for locating manuals not readily available elsewhere, supporting the preservation of Singer’s sewing heritage and offering detailed operational guides․
Singer’s Official Website Support
Singer’s official website offers support resources, though primarily focused on newer models․ However, it can be a starting point for locating some older manual information or contacting customer service for assistance․
While comprehensive archives of vintage manuals aren’t readily available directly on Singer’s site, exploring their support section and utilizing their contact options may yield helpful resources or guidance․

Key Components & Their Functions (Referencing Manual Diagrams)
Original manuals detail the handwheel, bobbin winder, and needle mechanisms․ Diagrams illustrate proper function and assembly, crucial for understanding operation and repair․
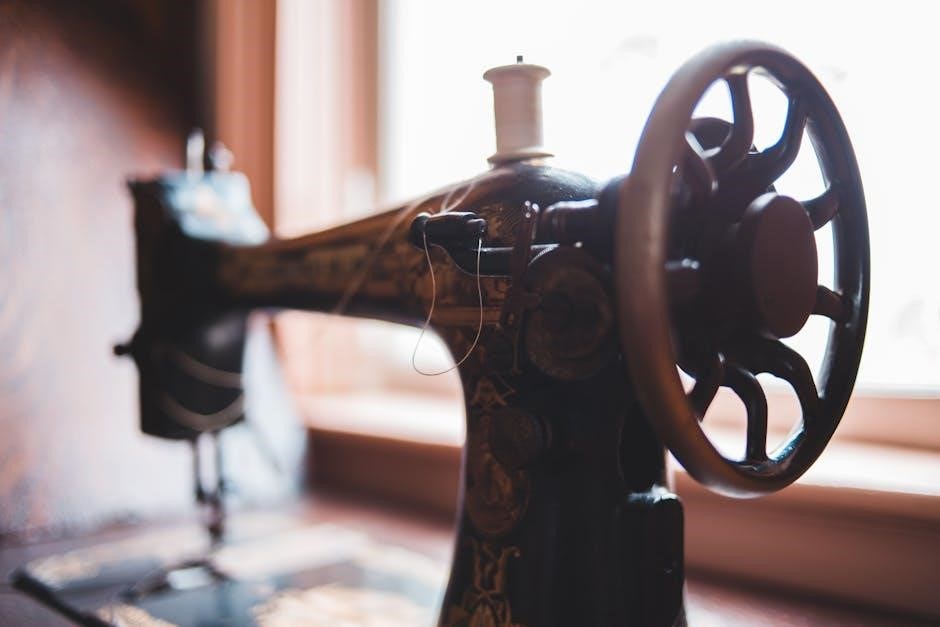
The Handwheel and its Operation
Singer manuals meticulously explain the handwheel’s role in driving the sewing mechanism․ Rotating it clockwise engages the needle, while counter-clockwise allows for precise fabric positioning․ Diagrams illustrate the correct hand positioning and demonstrate how the wheel’s momentum powers stitch formation․ Understanding its operation is fundamental to controlling sewing speed and accuracy, ensuring smooth and consistent results with your vintage machine․
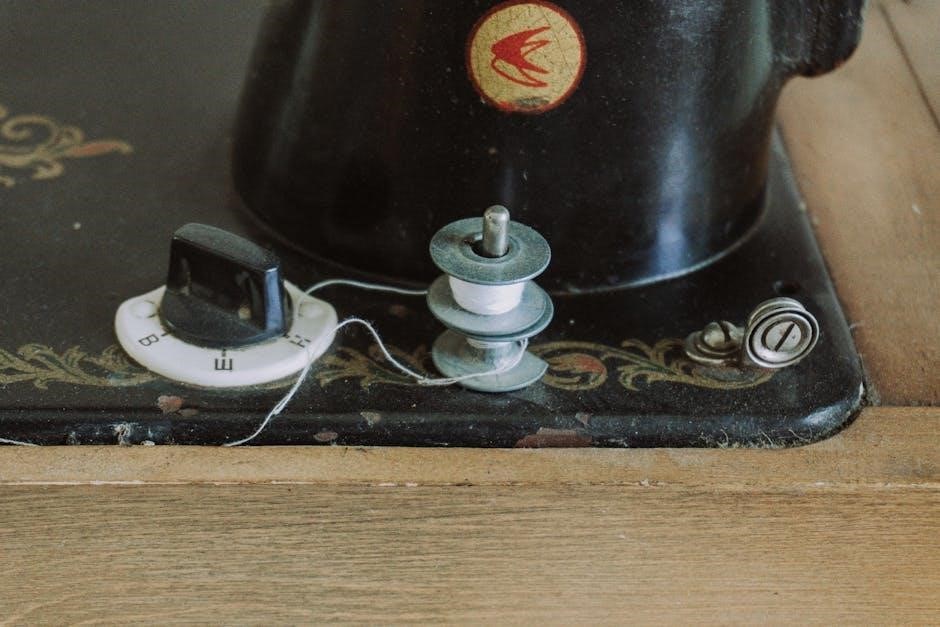
The Bobbin Winder
Singer manuals dedicate sections to the bobbin winder, crucial for preparing thread․ Instructions detail how to engage the winder, guiding thread from the spool to the bobbin core․ Diagrams clearly show proper thread placement and tension adjustment for even winding․ Consistent bobbin winding prevents uneven stitches and ensures smooth operation, a key element highlighted in original guides․
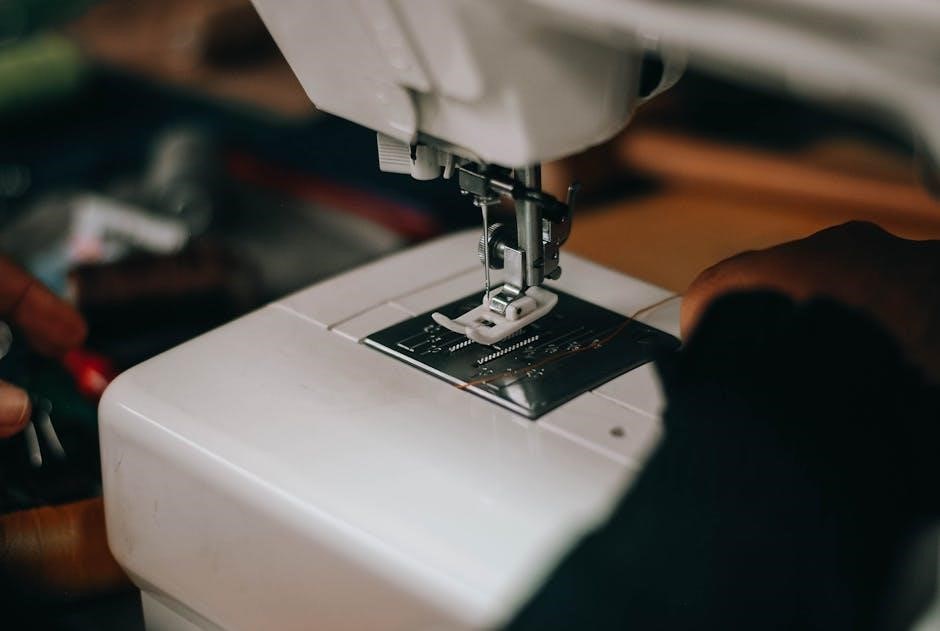
Needle and Presser Foot Mechanisms
Singer manuals meticulously explain the interplay between the needle and presser foot․ Diagrams illustrate how the needle’s motion, combined with presser foot pressure, forms stitches․ Adjustments for fabric thickness are detailed, ensuring proper feed and preventing skipped stitches․ Understanding this mechanism, as outlined in the guides, is vital for achieving consistent sewing results․
Basic Operation: Getting Started
Original manuals guide users through threading, bobbin winding, and insertion․ Stitch length and width adjustments are explained, enabling proper setup for various sewing projects․
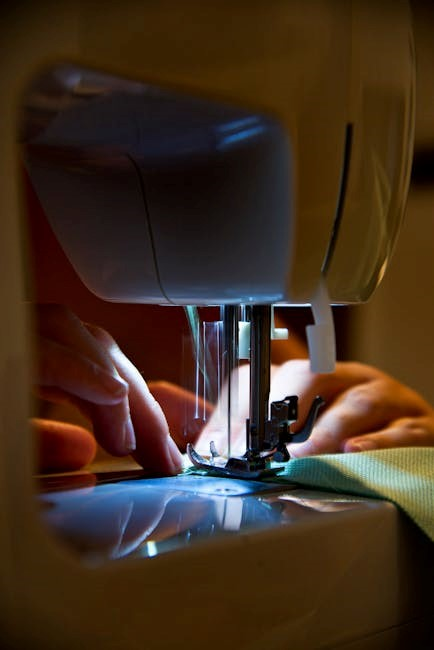
Threading the Machine
Vintage Singer manuals meticulously detail the threading process, often with diagrams․ Typically, thread travels from the spool pin, through tension discs, down the take-up lever, and finally through the needle’s eye․ Correct tension is crucial; manuals illustrate proper placement․ Following these steps ensures smooth stitching and prevents issues like thread breakage or skipped stitches․ Diagrams within the manual are essential for visual learners, clarifying each step of this fundamental operation․
Winding and Inserting the Bobbin
Singer manuals provide clear instructions for winding bobbins, utilizing the bobbin winder attachment․ Thread is guided from the spool to the bobbin, ensuring even distribution․ Inserting the bobbin correctly—often under a tension spring—is vital․ Manuals detail the specific bobbin case orientation for each model․ Proper winding and insertion prevent inconsistent stitch formation and maintain sewing quality․
Adjusting Stitch Length and Width
Vintage Singer manuals illustrate how to modify stitch parameters using levers or dials․ Stitch length controls fabric penetration, impacting durability, while width dictates zigzag pattern extent․ Manuals detail the numerical scales for precise adjustments․ Experimentation, guided by the manual, allows users to achieve desired effects for various fabrics and sewing applications, ensuring optimal results․
Troubleshooting Common Issues
Singer manuals diagnose thread breakage, skipped stitches, and tension problems․ They offer step-by-step solutions, often involving re-threading or cleaning machine components․
Thread Breakage Problems
Original Singer manuals detail causes of thread breakage, including incorrect threading, improper needle selection, and excessive tension․ Manuals emphasize re-threading the machine correctly, ensuring the thread path is smooth and unobstructed․ They also advise checking the needle’s eye for burrs and selecting a needle appropriate for the fabric weight․ Adjusting tension dials, as illustrated in the manual diagrams, is crucial for preventing breaks․
Skipped Stitches
Vintage Singer manuals address skipped stitches, often linked to a dull or incorrectly inserted needle․ Manual diagrams illustrate proper needle insertion height and direction․ Manuals also highlight the importance of using the correct needle type for the fabric․ Incorrect timing or a damaged hook mechanism can also cause this issue, requiring a skilled technician for repair, as detailed in service manuals․
Tension Issues
Vintage Singer manuals dedicate sections to tension adjustments, crucial for balanced stitches․ Manual diagrams show the tension disc settings and how to adjust them․ Incorrect threading, lint buildup in the tension assembly, or using mismatched thread weights are common causes․ Manuals emphasize testing adjustments on scrap fabric before sewing a project, ensuring optimal stitch quality․
Maintenance and Cleaning
Singer manuals detail regular oiling points and lint removal procedures․ Cleaning prevents jams and ensures smooth operation, extending the machine’s lifespan significantly․
Oiling Your Singer Machine
Original Singer manuals emphasize consistent oiling for optimal performance․ Key areas include the bobbin winder, shuttle hook, and all moving parts․ Use a quality sewing machine oil, applying sparingly to avoid gumming․ Manuals often feature diagrams pinpointing specific oiling points․ Regular oiling reduces friction, preventing wear and tear, and ensuring quiet, efficient stitching․ Neglecting this maintenance can lead to costly repairs and diminished sewing quality․
Cleaning Lint and Debris
Vintage Singer manuals stress regular lint removal for smooth operation․ Accumulated lint hinders performance and can cause jams․ Use a small brush, or compressed air, to clear lint from the bobbin area, feed dogs, and shuttle hook․ Manuals often illustrate these cleaning points․ Consistent cleaning prevents build-up, maintaining stitch quality and extending the machine’s lifespan․ Ignoring this step leads to malfunctions and potential damage․
Belt Replacement
Vintage Singer manuals detail belt replacement procedures, crucial for treadle or electric models․ A worn or broken belt prevents power transmission․ Manuals show belt routing around pulleys, emphasizing correct tension․ Replacement requires removing covers and carefully installing the new belt․ Ensure proper alignment to avoid slippage or damage․ Refer to diagrams for accurate placement, restoring the machine’s functionality․
Advanced Techniques (As Found in Manuals)
Singer manuals showcase darning, buttonhole stitching, and embroidery settings․ These techniques expand sewing capabilities, demonstrating the machine’s versatility and precision․
Darning Techniques
Vintage Singer manuals detail various darning methods for repairing worn fabrics․ These instructions cover heel and toe darning, as well as patching techniques, utilizing specialized attachments or the machine’s standard settings․ Manuals illustrate creating a woven repair, reinforcing weakened areas with closely spaced stitches․ They emphasize proper fabric alignment and tension control for durable, nearly invisible mends, extending garment life and showcasing resourceful repair skills․
Buttonhole Stitching
Vintage Singer manuals provide detailed guidance on creating buttonholes, often utilizing a buttonhole foot attachment․ Instructions cover adjusting stitch width and length for desired buttonhole size, and demonstrate techniques for reinforcing the edges․ Manuals illustrate precise fabric positioning and the importance of consistent speed for clean, professional-looking buttonholes, essential for garment construction and repair, showcasing the machine’s versatility․
Embroidery Settings
Vintage Singer manuals detail embroidery capabilities, often achieved through darning or decorative stitch plates․ They explain adjusting stitch length and width for varied designs, and utilizing different presser feet for optimal fabric control․ Manuals showcase techniques for freehand embroidery and pattern tracing, enabling users to personalize garments and create unique textile art with their classic machines․
Understanding Manual Diagrams
Singer manuals utilize exploded views and parts lists, clearly numbering components for easy identification during assembly, repair, and maintenance procedures․
Exploded Views
Singer sewing machine manuals frequently feature detailed exploded views․ These diagrams meticulously illustrate how each component assembles, showcasing the machine’s internal structure․ They present a disassembled representation, allowing users to visualize the relationship between parts․ This is incredibly helpful for repairs, reassembly, and understanding the machine’s mechanics․ These views are essential for locating and identifying specific components, streamlining maintenance and troubleshooting efforts․
Parts Lists
Singer manuals include comprehensive parts lists, crucial for restoration and repair․ These lists detail every component, often with corresponding numbers referenced in exploded views․ Finding replacement parts relies heavily on these lists, enabling accurate ordering based on specific model numbers․ They provide part names, numbers, and sometimes even superseded part information, aiding in sourcing even obscure components for vintage machines․
Numbered Component Identification
Singer manuals utilize a numbered component identification system within exploded views․ Each part is assigned a unique number, clearly labeled on the diagram․ This allows users to precisely identify components when referencing the accompanying parts lists․ This system is vital for repairs, maintenance, and understanding the machine’s internal workings, ensuring accurate part replacement and assembly․
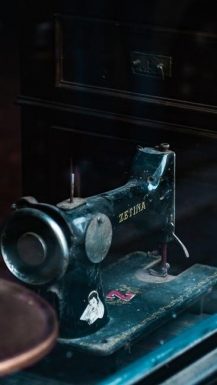
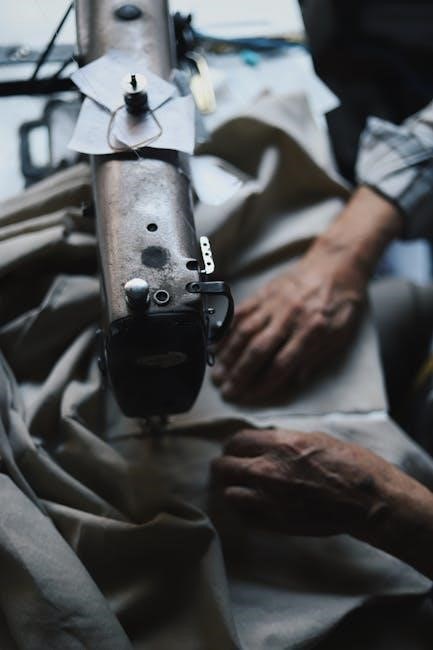
Restoring a Vintage Singer Machine
Restoration involves finding replacement parts, polishing the exterior, and ensuring electrical safety․ Manuals aid in disassembly and reassembly for a successful project․
Finding Replacement Parts
Locating parts for vintage Singers requires diligence․ Online auction sites, like eBay, frequently offer original components․ Specialized antique sewing machine dealers are excellent resources, possessing extensive inventories․ Manuals are crucial; their parts lists and diagrams help identify needed items․ Ismacs forums connect collectors who may trade or sell parts․ Patience is key, as finding specific pieces can take time, but preserving these machines is rewarding․
Polishing and Cosmetic Restoration
Restoring a Singer’s appearance enhances its beauty․ Gentle cleaning with mild soap and water is first․ Metal parts benefit from polishing with appropriate compounds, avoiding abrasives․ Decals can be carefully cleaned or, if damaged, professionally replicated․ Manuals often show original finishes, guiding your restoration․ Preserve the machine’s history while improving its aesthetic appeal, respecting its vintage charm․
Electrical Component Safety (If Applicable)
Vintage electric Singers require careful inspection․ Original manuals detail safety rules․ Before operation, check wiring for fraying or damage; replace if needed․ Never operate with a damaged cord or plug․ Ensure proper grounding․ Disconnect power before any maintenance․ If unsure, consult a qualified electrician – safety is paramount when dealing with aged electrical systems․

Safety Precautions (From Original Manuals)
Original manuals emphasize general safety, like keeping fingers clear of the needle․ Electrical models require grounding and cord inspection for safe operation․
General Safety Rules
Original Singer manuals consistently prioritize user safety․ Always disconnect power before changing needles or performing maintenance․ Keep fingers away from moving parts, especially the needle and handwheel, during operation․ Never leave the machine unattended while running․ Ensure adequate lighting to clearly see your work and avoid accidents․ Avoid using damaged cords or plugs, and never force any mechanism․
Electrical Safety (For Electric Models)
Vintage electric Singer machines require careful electrical handling․ Always ensure the machine is properly grounded․ Never operate with a damaged cord or plug; replace immediately․ Avoid using extension cords if possible, and if necessary, use a heavy-duty one․ Disconnect the machine from power before cleaning or changing parts․ Inspect wiring regularly for wear and tear․
Needle Safety
Always disconnect power before changing the needle on electric models․ Use the correct needle type and size for your fabric․ Insert the needle firmly, ensuring the flat side faces the back․ Never sew over pins or hard objects, as this can damage the needle and cause injury․ Dispose of broken needles carefully to prevent accidental pricks․
Resources for Further Information
Online forums and antique collector groups provide valuable support․ YouTube offers numerous tutorials for vintage Singer machines, aiding restoration and use․
Vintage Sewing Machine Forums
Online forums dedicated to vintage sewing machines are treasure troves of knowledge․ These communities connect enthusiasts who share experiences, identify models, and assist with troubleshooting․ Members often possess original manuals or can direct you to resources․ Discussions cover everything from restoration techniques to locating replacement parts, offering invaluable support for owners of classic Singer machines․ Active forums foster a collaborative environment for learning and preserving sewing machine history․
Antique Sewing Machine Collectors
Antique sewing machine collectors frequently amass extensive libraries of original manuals․ These dedicated individuals often specialize in Singer machines and possess deep knowledge of specific models and eras․ Connecting with collectors can provide access to rare manuals or scans unavailable elsewhere․ Collector’s clubs and online marketplaces are excellent avenues for finding these resources and benefiting from their expertise regarding vintage Singer documentation․
YouTube Tutorials
YouTube hosts a wealth of video tutorials demonstrating the use of vintage Singer sewing machines․ Many creators showcase machine operation, threading techniques, and basic maintenance, often referencing original manuals․ Searching for specific model numbers or keywords like “Singer sewing machine tutorial” yields helpful results․ Updated videos from 2020 and beyond offer clear, visual guidance for restoring and operating these classic machines․